
When to Harvest
Generally, we aim to harvest garlic in mid to late summer. But that description alone is vague and not particularly helpful. Ideally, you’ll want to look for:
1. Lower 3-4 green leaves are yellow and have dried out. Garlic is distichiasis meaning the leaves are arranged in two distinct, alternating ranks that are tightly wrapped together to form a pseudostem. The oldest leaves will be the ones at the bottom.
2. If growing a sock-neck variety, the pseudostem will begin to soften and flop over. This process is often referred to as lodging or die back. It’s a strong indicator that the bulb is ready as the final energy of the plant is going to support the plumping of the bulb rather that sustaining the leaves.
3. A hardneck variety that shoots up scapes will be ready about 4 weeks following scape harvest.
Julie notes: did you know that each green garlic leaf corresponds directly to one of the papery wrapper layers on the garlic bulb that forms underground?
How to Harvest (and Cure and Store)
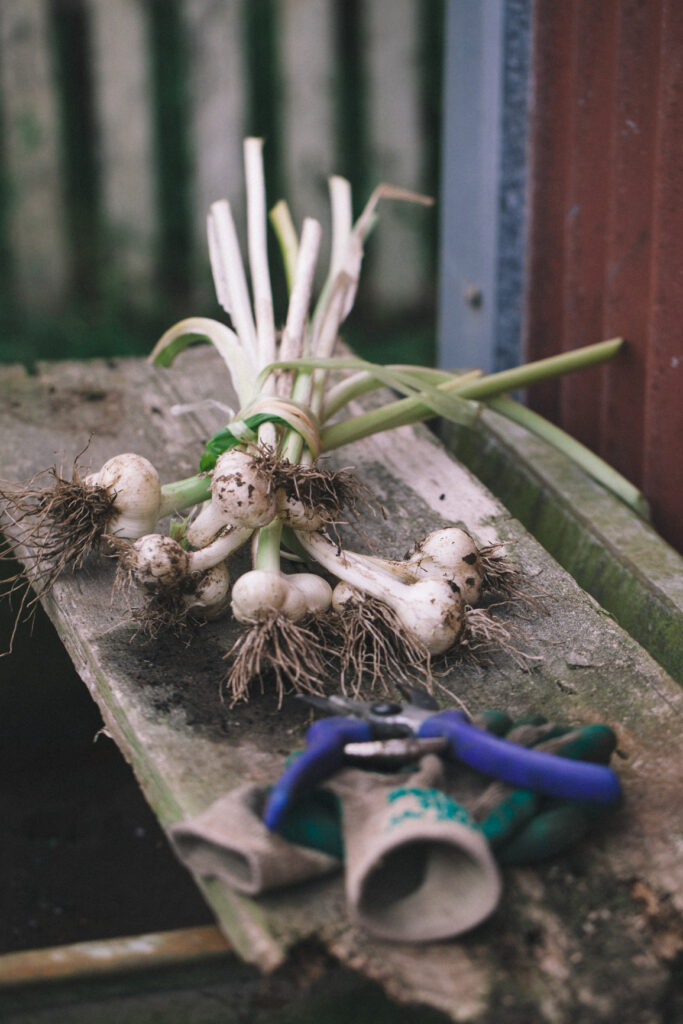
When it comes to how to harvest garlic the most important thing to remember is to remove the entire bulb and greens together. You’ll want the plant fully intact. You’ll remove certain parts prior to storing but this is essential. To achieve this:
1. Begin by loosening the soil around the bulb with a gardening fork or a hori hori knife. If at all possible avoid the garlic harvest when it’s super dry. If it can’t be helped work slowly and precisely.
2. Gently pull your entire plant out of the ground. With your hands brush off excess dirt, but never rinse. Set aside until all your garlic is pulled.
3. Once everything has been pulled you’ll need to cure or thoroughly dry your garlic for several weeks. In your first few years keep it simple. Lay your harvest in a single layer in a location that is shaded, dry, and well-ventilated. As you get more comfortable you can explore hanging and braiding several bulbs together but the uncomplicated approach works perfectly.
4. After about 2-4 weeks or when the bulbs are papery and dry, the roots stiff and the neck completely brown, you’re ready to store. At this point cut the stalks to about an inch about the head. Store in a cool, dry spot or freeze to enjoy year round.
We wish you the best of luck in the final step of growing garlic successfully. For more things home and garden, keep reading the Wild Blog. P.s., if you don’t already, be sure to follow us on Pinterest and Instagram.