As easy as 1,2,3
Truly, there are 3 steps to planting garlic, it’s relatively simple process. The key, however, is noting it in your calendar for the Fall. It only needs to happen once where in the Spring, you come to the sudden realization that you forgot to plant your garlic. During this time of year, it’s easy to get garden fatigue and turn your minds to other Fall activities, hence forgetting this quick task.
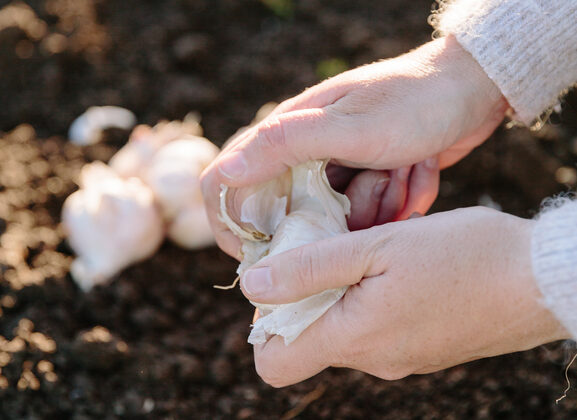
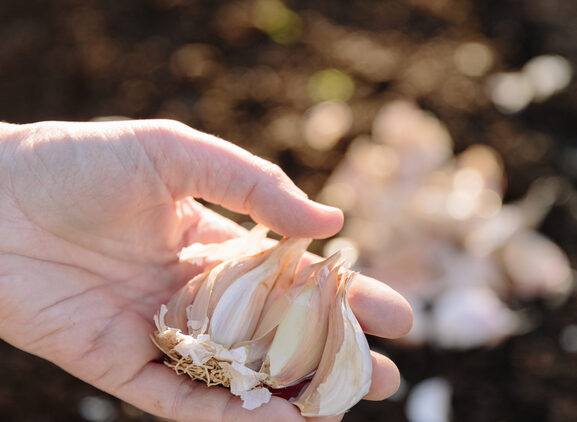
- Purchase a ‘seed garlic’ preferably from a local nursery or source (in regard to original region of cultivation). We strongly advise against using bulbs from the grocery store. It will grow poorly and can even introduce foreign diseases or matter to your garden. ‘Seed garlic’ has been grown specifically for this purpose. Often it comes as a head, which will mean you’ll need to “crack” it to release individual cloves. There’s no need to remove their coatings.
- Plant your garlic about 4-weeks before your first frost. Prepare your soil first by adding a layer of manure or organic compost. Due to individual cloves varying in lengths and size; we recommend planting based on the size of each. With a trowel or garden spade, dig a hole about 4-times the length of each clove, planting about 10-15 cm apart. Rows can be about 20-25 cm apart.
- Cover and pack the soil. Place markers, or make a note in your garden journal. Winter is a long season and displacement (and forgetfulness) are likely. Come Spring, it makes things easier if you know where your garlic should start popping up. Finally, add a generous layer of mulch. This helps keep temperatures, even cold ones, more consistent.
Growing Garlic in Containers
While the ground is our first option for this bulb; it can also be achieved via a container. It should be noted that there are a few additional risks in a pots; but here are a few things to remember.
- Your pot needs to have enough room for your garlic to grow comfortably. You can plant about 3 cloves per 5-6 inches of pot. Consider at least a 12 inch pot with good drainage as a starting point.
- Depending on the material, size and depth of your pot, you may need to consider additional insulation if you have colder winters
- Unlike in the garden, prior to planting your garlic, give your soil a bit of a watering. In the Spring, check your soil periodically. If you can grab a handful and it stays together, moisture content is fine. If it crumbles or falls apart, water lightly.
Look for a post next Spring, for what we do leading up to our garlic harvests. In the meantime, for more reading and inspiration on all things home, gardening and lifestyle? Check out the The Wild Blog. Plus, if you don’t already, be sure to follow us on Instagram and Pinterest!