
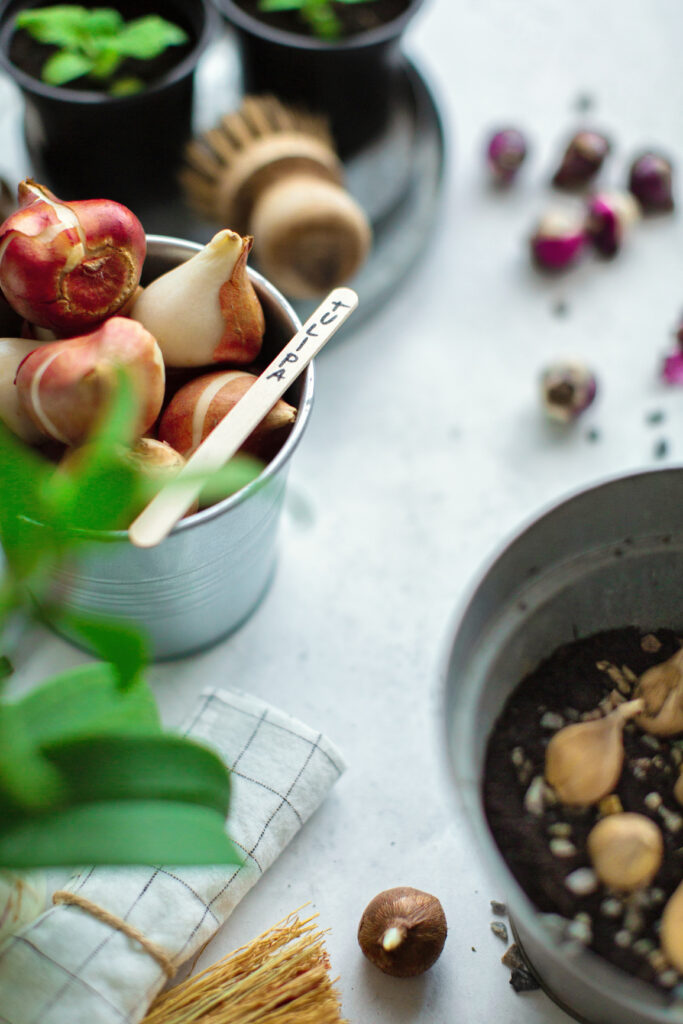
Bulbs and Other Storage Organs
In garden centers and nurseries, and in the minds of many, the term ‘bulbs’ is all-encompassing for all modified storage organs. Botanically speaking, however, there are key differences between bulbs, tubers, corms, and rhizomes. Mostly having to do with where they originate and what part of the plant they are modified from (mostly from the stems and roots). But often differences of origin equate to how we treat them and what they can tolerate along with what zones the plants thrive in. The similarities between them though is that they are structures of survival. They essentially store food, energy and even genetic material to help a plant thrive at a later date.
General Notes
- For plants that utilize these storage structures, there is a natural point in time when the foliage begins to die down. It’s at this point that much of the energy is being sent down into the bulbs or other structures. It’s important therefore to not cut down what can be found above ground or dig out what is below ground too soon.
- It is important to wait to cut down all foliage only at the very end of the season. Although throughout the season, deadhead any spent flowers. This is to avoid an excess of fruit and seed production and to again allow as much energy into the bulbs as possible.
Digging, Separating and Storing Bulbs
- Reference your garden map. We highly recommend sketching one out each year or whenever planting. This then helps determine the locations of bulbs you’ll be digging up.
- When the foliage is about 60-80% yellowed or dead, cut all the way to the ground. From here, depending on your various parameters, you can either lift your bulbs immediately or sometimes it is recommended to wait various amounts of times for ne reason or another. With dahlias for example, it is ideal to wait 1-2 weeks before digging the tubers up.
- When the time comes and with clean and sterilized tools, gently loosen surrounding soil. Then, using your hands gently lift the bulbs from the ground. Sometimes they’ll be clumped, avoid breaking or snapping or pulling to0 hard.
- Brush off dirt, again being gentle and careful. At this stage assess carefully and remove anything that is soft or already moldy. Here again, treatments may vary in length of time but it is best to dry bulbs, tuber, or corms before storing. Ideally in a cool, dry spot.
- If you’re separating anything specifically clumps that are excessively large, do so after the first 24-48 hours before proceeding to a longer cure.
- Store according to best practises for your particular plants and species. Some things do best in ventilated containers with vermiculite, while others do well in plain, paper bags.
A Note from Julie
“As you grow your bulb, tuber, corms, and other plant collections, it may be tempting to package everything up and look forward to the Spring. But do not forget to label and catalog accordingly. Even a small notebook with a few notes on the quantity, quality and if you’re splitting anything is a wonderful practise. Then, when storing, add a label including what it is and the date you’re storing.
May your bulbs overwinter beautifully and we wish you the best of luck planting in the Spring. On a future installment of the Wild Blog we will cover all things planting bulbs in the Spring. P.s., if you don’t already, be sure to follow us on Pinterest and Instagram.