Why Start Seeds Indoors?
If you’ve ever been to a large nursery in the Springtime, with rows and rows of plants for relatively low prices you may ask yourself, “why would I ever start seeds indoors”? This is a four-part answer. Your geographic location may mean that you have harsh winters, if that’s the case you’ll have a shorter growing season. When you start your seeds indoors well before the start of your season, you get a headstart. Meaning you can enjoy certain annuals, vegetables earlier. Next, nursery selections can be limiting, whereas purchasing seeds for any kind of variety, cultivar, vegetable or flower feel limitless. Thirdly, you can grow a significant amount for less and know exactly the growing conditions of your plants. If you plan to grow edibles, like fruits and vegetables, you will know exactly what you’re eating.
Finally, and maybe most importantly, to start seeds indoors is a commitment that will reconnect you with nature in a powerful way. From the start, you are the caretaker, cultivating, caring and bringing these plants to life. Plus, when showing off your gardens you can proudly say, “I grew them from seed.”
Essentials for Success
It’s important to preface that not all seeds should be started indoors. Some don’t transplant well, some are better started in the ground, others are extremely finicky and can have low rates of success. If in doubt, the seed package will provide best growing options. In the meantime, here are our recommendations for best seeds to start with and those to generally avoid:
Best
- Basil
- Peppers, hot and sweet and tomatoes
- Broccoli, cauliflower and brussel sprouts
- Celery and eggplants
- Marigolds, snapdragons, nasturtiums, sunflowers and zinnias
Avoid
- Carrots, beets and radishes
- Zucchini, squash and watermelons
- Dill and parsley
Time
Both from a calendar and commitment point of view. Generally, here in South-Western Ontario, you’d begin your seeds 6-8 weeks before the last frost of the season. And each of those days will likely require some attention to your seeds. Ensure your daily schedule can fit a few minutes before commencing.
Pots & Soil
A seed starting tray or seed pots are the easiest way to start seeds indoors. They’re made for this particular purpose. The containers hold up well to watering, provide ample room for root development and appropriate drainage. We often get asked about recycling egg cartons or plastic jugs for starting seeds. Technically, so long as you have a few inches you can grow something, but whether you’ll be able to grow successfully to transplant is a different story. Using alternative materials simply present you with other factors that can inhibit successful growth.
As for soil, regular garden soil or even potting mixes are problematic. Seedlings are fragile, they require high moisture in the first few weeks, good-aeration and a sterile-medium. Opt for “seed starting” soils or cater to the specific seeds you’re starting with a home-made mixture, the latter being more complicated.
The Right Amount of Light
This is the most imperative and essential point. Seedlings require consistent and strong light. Something like 14-16 hours a day, depending on the plant. Without it, they become stringy, they’ll topple over and will likely not make it to transplant. Generally, most homes will not have enough consistent light. A few cloudy or rainy days in a row may be enough to inhibit growth. Grow lights to the rescue! Various cost-effective options are available, from light bulbs to full systems. Just be sure that you can adjust the height of your lights as your seedlings grow.
How to Start Seeds Indoors:
Step 1:
Prepare your soil by placing it in a large bowl. Evenly moisten the soil. If any of your seeds require particular soil attributes, add everything in together.
Step 2:
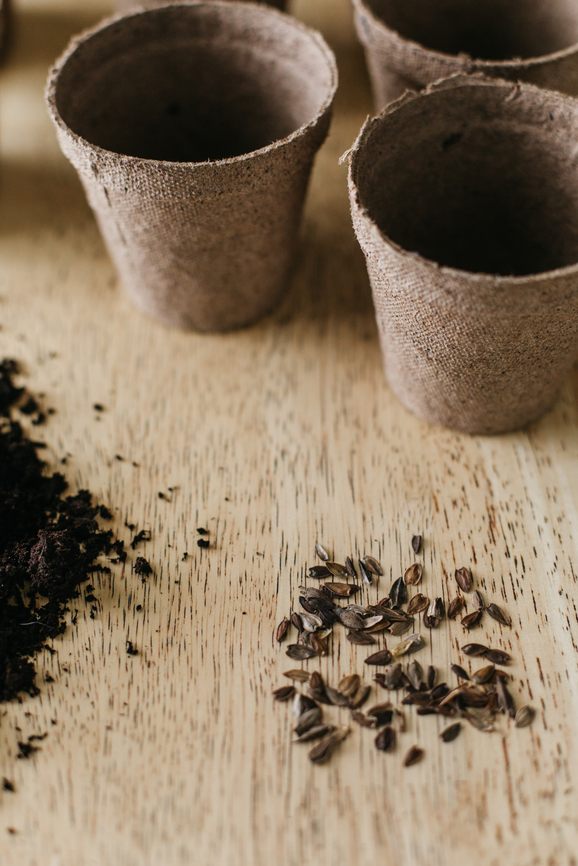
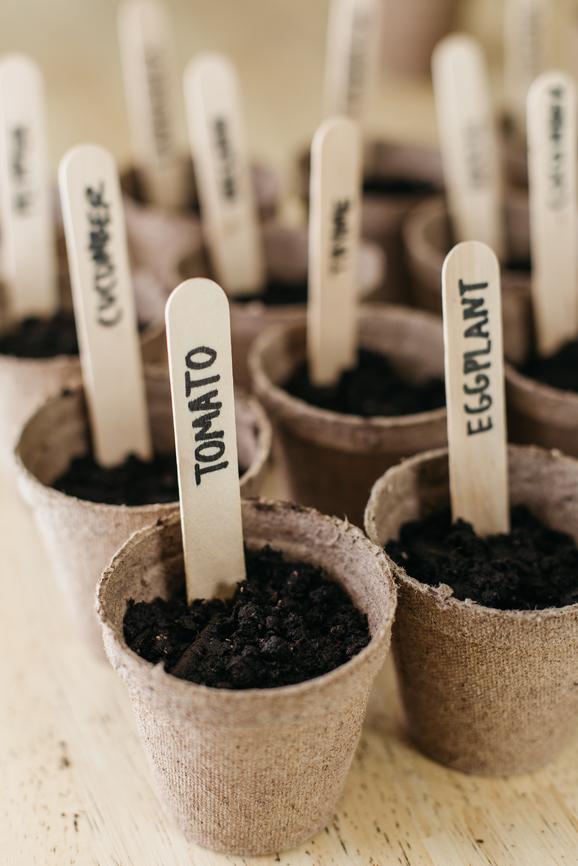
Place your soil into your seed trays or containers. Following your seed packets instructions, sow a few seeds in each container. Keep in mind you always plant a few extra seeds to later thin out leaving your strongest seedlings and increasing germination. As you plant, keep a good record of what you’re planting where. Either create a small diagram, label or use plant sticks.
Step 3:
Once planted, we love fitting seed trays/containers into clear containers, thus creating mini-greenhouses. Not only will this increase humidity, something germinating seeds love, but it will also create a warmer environment. Before your seedlings pop out of the ground, they do not need to be kept under light, but they do need to be watered daily. You’re looking to keep trays from drying out and consistently moist without being damp. Avoid using a watering can and instead, opt for seedling sprayers or outfit your can with this kind of attachment. Moreover, misting should additionally be avoided as you may underwater with this method.
Step 4:
Once your seedlings break through, move them under your grow light(s). The further your light from the seedlings, the more they’ll reach, so a general rule of thumb is to keep your lights nice and close to your plants, about 1.5 to 3 inches from your seedlings. If you find your leaves browning, it is an indicator to move your lights slightly higher. Ideally, you’ll want to place your lights on an automatic timer, to ensure a consistent lighting schedule.
Step 5:
As mentioned above, we plant more seeds than we need per container to increase success rates. Once your seedlings are 2-3 inches tall, thin out each pot so that you have anywhere from 1-3 of the thickest and strongest seedlings.
Prior to Transplanting Outdoors
Step 6:
Once the risk of frost has passed, you can begin the transition from indoors to outdoors. To avoid transplant shock, bring your seedlings out over a week for an increased amount of time each day. This is called hardening off your seedlings. Day 1, 30 minutes in a shaded area, Day 2, 1 hour in the shade, 10 minutes in sun, Day 3, 2 hours in the shade, 20 minutes in the sun. Continue to do this for the week, slowly increases time spent in the sun.
If this is your first year starting seeds indoors, we are honoured and delighted to provide insight on this enriching process. May your gardens be plentiful and beautiful this upcoming growing season. For additional inspiration for all your gardening projects, check out the rest of The Wild Blog. P.s., we’d love to connect, if you don’t already, be sure to follow us on Instagram and Pinterest!