The Art of Foraging
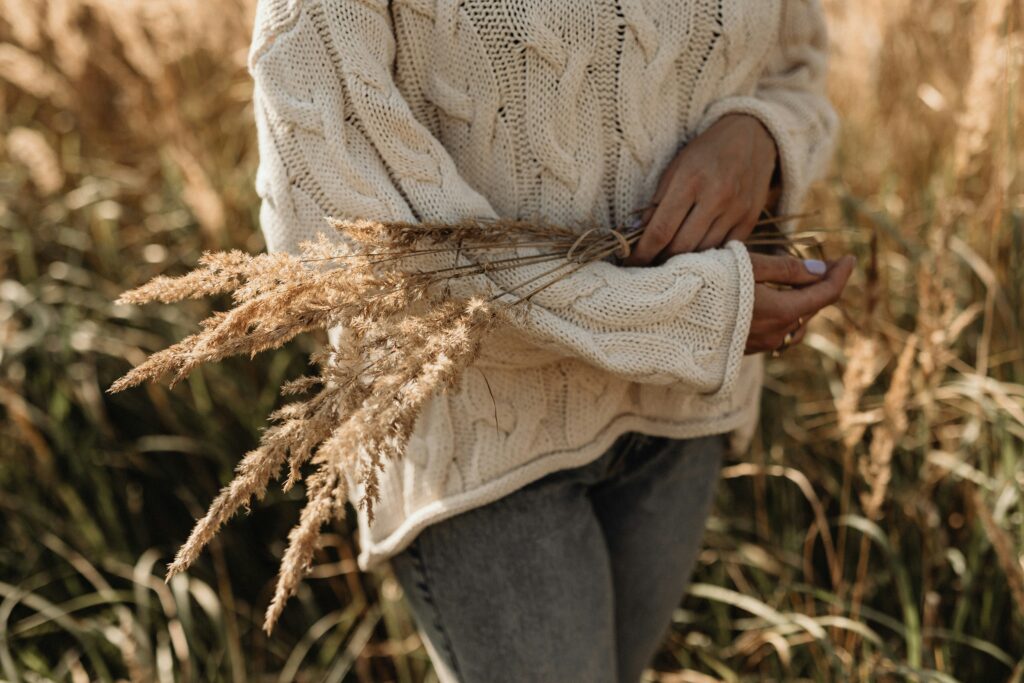
Spend an afternoon exploring your outdoor spaces. Stroll through your own backyard. a local park or your nearest trail. A general rule of thumb for Fall foraging is to pick up that which has already dried, died or fallen to the ground. The reasoning here is that some foliage, including several ornamental grass species can be prone to shedding or losing their tufts as they begin to dry out, and therefore creating an unintentional mess. Additionally, if you’re grabbing fresh botanicals, you’ll likely have to dry them prior to creating your fall wreath; as plant matter can be susceptible to a very unaesthetic rotting process if not carefully care for and dried correctly.
Treasures for your Fall Wreath
This is arguably the most plentiful season where you can find a stunning array of colours, textures, patterns and shapes. Here’s what we keep our eyes open for:
- Grasses, like pampas, sedges, reeds and other long-stemmed foliage like wheat and barley
- Dried flower heads, like hydrangeas and flower stems like that of strawflower, sunflower, and millet
- Leaves, like that of maples, oak and poplar, and pinecones of various conifers
- Seed pods and heads (preferably ones that have already opened), berries and acorns
- Branches and twigs; we especially love ones with yellow moss that can nicely tie in a favourite Fall colour
Julie’s Tip: When possible, give yourself as much material to work with for individual stems, branches etc. This is because it’s easier to trim at home than to try and work a limited amount.
Things to Remember When Crafting
Building your Fall wreath really only requires three items. The first is your base, i.e., a frame. We are partial to a metal frames* not just for their longevity, but also because many allow for greater visual depth in placement. The second is an affixing element; what you’ll be using to add your foraged goods to your frame. You can opt for a thin-gauge wire, zip ties or floral wire/tape. Lastly, foraged finds. Here’s our method:
- Once you’ve returned from your foraging, allow all finds to sit either in a garage/outside for a few hours or overnight before bringing them in. After a resting period (which allows any insect guests time to clear out), give one final good shake and then you’re ready to begin indoors.
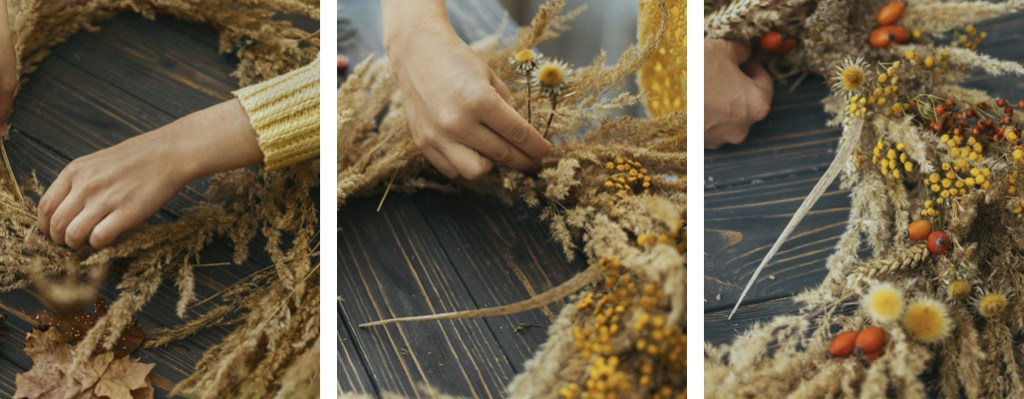
- Lay out your plant material on a large surface, grouping the same species or by size. Starting with your largest pieces, begin to lay and arrange on your frame. Often, we will plan out the entirety of the main elements before beginning any attaching.
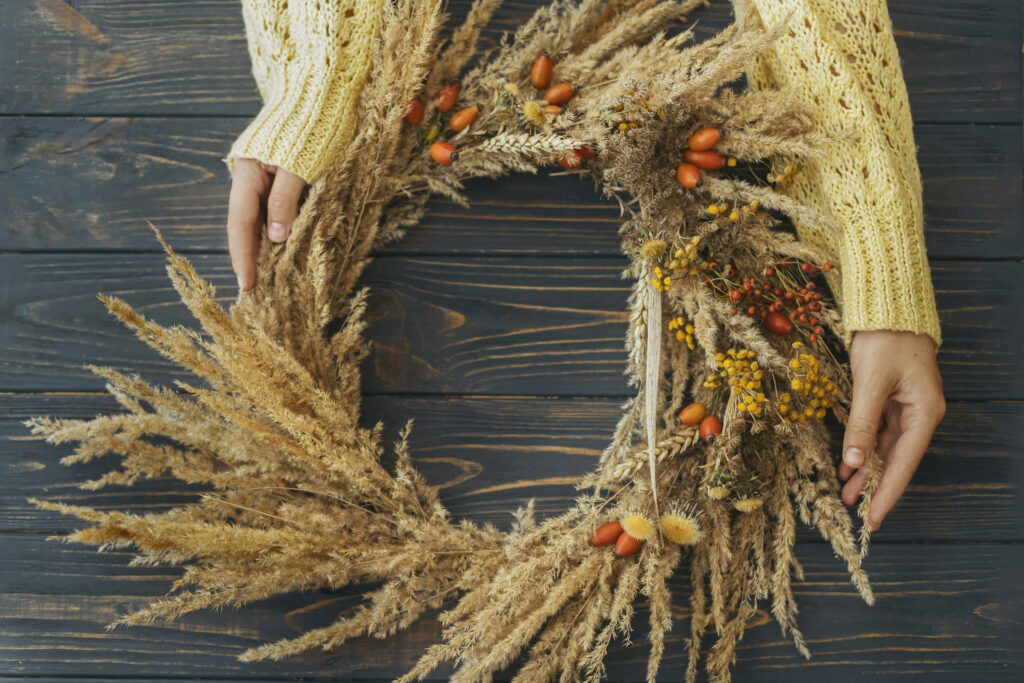
- For an elegant look, arrange your pieces to all face the same direction and for a more rustic appearance, mix up the orientation. Once all your largest elements are placed, consider groups several stems of smaller plants together and adding them together for a fuller look.
- Don’t forget your wreath “garnishes” which can include anything from beautiful ribbons to miniature pumpkins, which are often available at the end of the summer at local farmer’s markets and shops. Finally, using a hook or a wreath hanger, secure your creation!
*While appreciating the metal frame, especially in your first few years of wreathing, there is something so beautiful to a grapevine wreath that peaks through the foliage subtly or is left intentionally exposed. It does tend to be a bit harder to work with; so something to eventually aspire to.
A Final Love Note
Each year we look to this activity with excitement. This is an intentional reconnection with nature. From the exploration of the great outdoors to the appreciation of each element you pick up or collect. Not just by using your hands to shape and work; but selecting, pairing and matching these natural elements; this activity has simple, yet beautiful impact. We hope your Fall wreaths continue to be an essential activity in this wonderful season. If you don’t already, be sure to follow us on Instagram and Pinterest! Looking for more reading and inspiration on all things home, gardening and lifestyle? Check out the The Wild Blog.

