“When we grow our own food, we eat seasonally, locally, and sustainably.” – Michael Pollan
Seemingly, a garden of function, even if dually aesthetic, like in the case of growing edimentals, has become a priority for the every-gardener. To grow your own food, is empowering. At your hands, you know exactly what has gone into the development of each plant. On a smaller-scale (as compared to larger commercial operations), quality is significantly increased and the maximum amount of health benefits delivered. Fruits and vegetables begin losing their nutrition as soon as they’re picked. So, imagine the result after days on end of transit. To eat seasonally, is to work with the natural world in your region. It aligns with the weather patterns and eases the use of extensive water and resources. And it all begins with seed starting.
Here on the Wild Blog we’ve previously, reviewed how to successfully start seeds indoors, touching upon the essentials. We talk about the best candidates in your first attempts, things needed and a simplified breakdown of the steps. If you’re new to seed starting, we encourage you to begin there. As soaring food prices almost necessitate a home-grown option, we seek to provide a deeper commentary on the process.

Seed Starting Supplies
Curated after years of trial and error, trying out various products and experimenting with popular trends, here is our own comprehensive checklist:
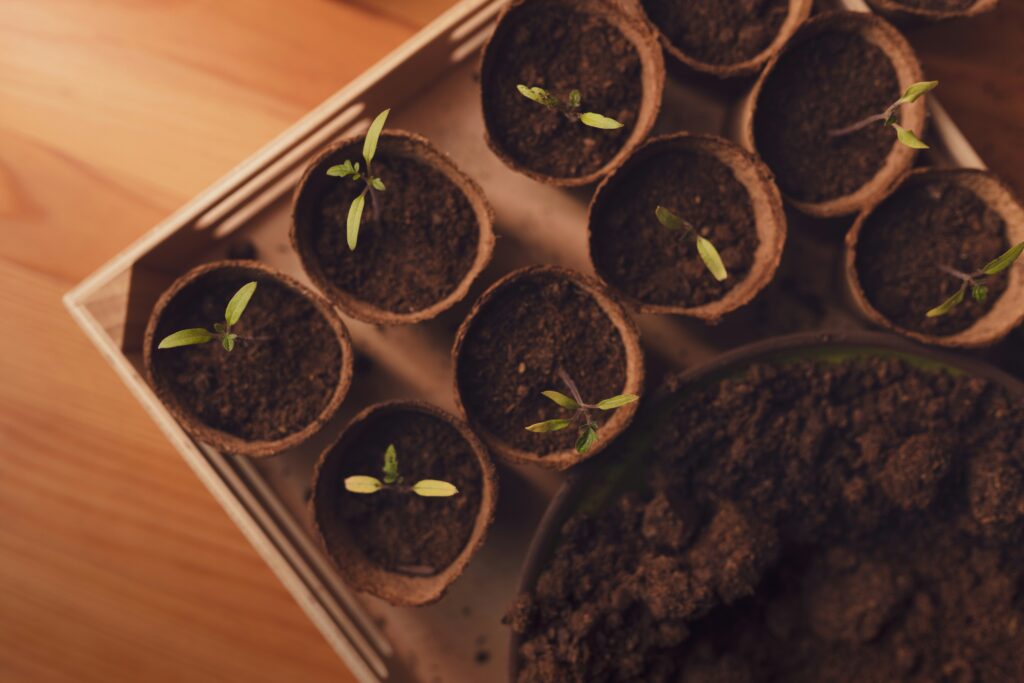
Seed trays/growing trays (made up of individual cells)
Generally, you’ll have 50-72 cells per tray, with some much larger/smaller trays available. We select our sizes based on our grow-light length. If you purchase trays that are significantly larger than your lighting, your light source will not be able to cater to all your seedlings and those on the outskirts will stretch out or get “leggy” resulting in an unsuccessful growing attempt. These cells maximize growing space, but in another sense minimize space for seedlings. We’ll often begin in cells and then repot into “rooter” pots (see below) once seedlings have reached a preferred size.
Water tray/clear lids or containers
Often, when you purchase seed trays, you’ll have a tray for the cell packs to sit in, and even “humidity domes or lids” included. If that’s not the case, however, you’ll need to source a deep wide tray to catch water and some kind of container or lid for initial germination. We often utilize clear plastic bins prior to germination to achieve ample humidity. Simply place your tray in a large enough bin, close the lid and wait for your seedlings to burst through the soil. After that point you can use the bins as your water tray or transfer into something more shallow.
Julie notes – Did you know that most seedlings do not need direct light while in the germinating stage? We often stack our trays, in their bins, in a corner of our growing areas and only move them under the lighting systems once they have germinated. Warm temperatures and proper watering are more essential at this stage.
Seed starting soil, perlite and vermiculite
Plenty of reputable companies are now preparing a “seed starting” specific soil. Invest in these specially formulated mixes. We further enhance our first mediums by having both perlite and vermiculite on hand. The difference between these two natural soil additives is that the former aids in water drainage and the latter in water retention. Some seeds can actually be started in either of the mixtures as well.
Gentle Watering Can/Device
For years, the watering device appropriate here has been an uphill battle. However, the sourcing of a German-made seedling sprayer, which produces a soft spray without disrupting soil and root establishment, was a big-garden win! If you are unable to find something similar in your area, look for a watering can with many holes in the head, to help mimic a gentle flow without overwhelming your seedlings. If you’re really having difficulty, don’t hesitate to look to children’s toys. You may be surprised! A word of caution: avoid misting and misters in general as they can be misleading in regard to how much water is actually being delivered.
Adjustable Grow-Lights
With emphasis on adjustable. As mentioned, germination does not require light, but healthy, strong seedlings that you plan on growing to transplant size certainly do. We look to adjustable grow lights to keep stems fat and happy. A general rule of thumb is to keep your lighting lower in the first few weeks (post-germination), about 4-8 inches above the seedlings and continue to raise the lighting with their growth, increasing to about 8-12 inches in the following weeks.
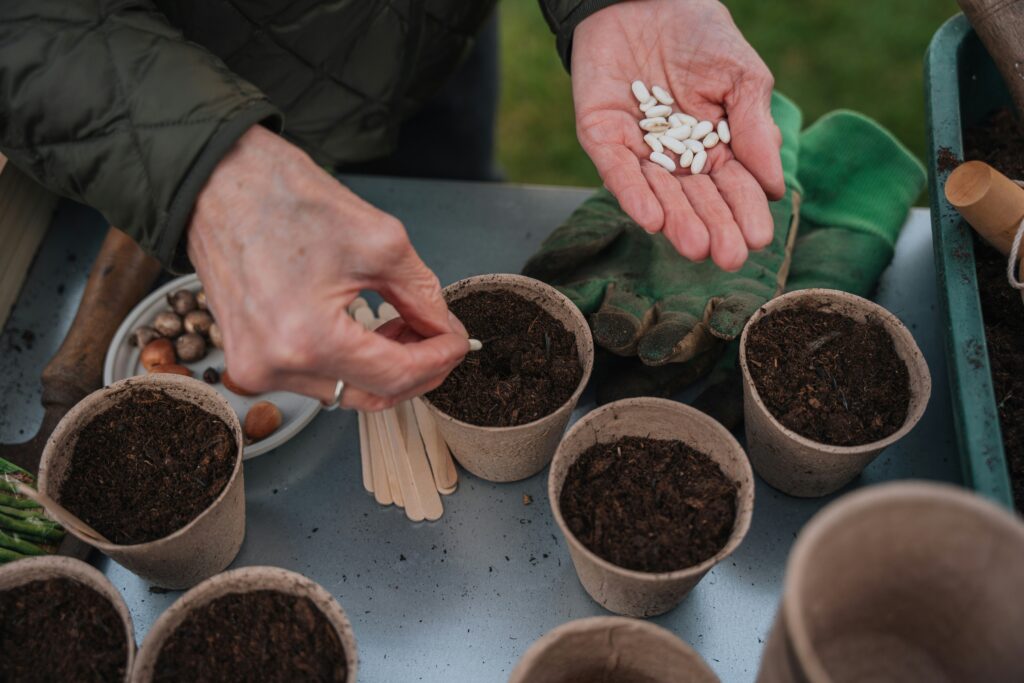
4-6 inch “rooter” pots
This penultimate item is not always needed and heavily depends on what you’re growing. Pepper and tomatoes often make this list for us to give these seedlings enough room to grow large and have successful transplants in the Spring.
Seeds from reputable sources, see next section
Note, that depending on exactly types of plants/amounts you’re growing this list may need to be slightly adjusted to suit your individual needs.
Seed Starting Packets
If you’ve recently become more interested in food sustainability and growing your own, keep in mind that even your seed sources are important. We personally recommend: The Ontario Seed Company, West Coast Seeds, and Incredible Seed Co., as sustainable and trusted suppliers. For the purpose of seed starting, there are 4 things to look at on every packet to determine if they are an appropriate fit for seed starting indoors:
1. Direct sowing or transplanting – Some plants do not handle being transplanted, do not attempt to start indoors. If this is the case, a note to that effect will be listed.
2. When to start indoors – In relation to your last anticipated frost date. Depending on your gardening zone, this time frame refers to the first round of germination, but not necessarily the last.
3. Days till Germination – A general idea of how long you have until your seedlings pop through the ground, and therefore need to be moved under light.
4. Thinning – For good measure, plant several seeds in each cell. Germination is never fully guaranteed, so a few seeds increase your chances. Once seedlings have grown 2-4 inches, see thinning instructions to determine how many to remove.
Happy seed starting to all our gardeners. Join us in the next installment of the Wild Blog for common troubleshooting on this topic. P.s., if you don’t already, be sure to follow us on Instagram and Pinterest!